__/\\\\\\\\\\\\\\\__/\\\\\\\\\\\\\\\__/\\\________/\\\___________________/\\\\\\\___________/\\\\\\\\\\\\_____/\\\\\\\\\\\\\\\_
 _\///////\\\/////__\///////\\\/////__\///\\\____/\\\/__________________/\\\/////\\\________\/\\\////////\\\__\/\\\///////////__
  _______\/\\\_____________\/\\\_________\///\\\/\\\/___________________/\\\____\//\\\_______\/\\\______\//\\\_\/\\\_____________
   _______\/\\\_____________\/\\\___________\///\\\/_______/\\\____/\\\_\/\\\_____\/\\\_______\/\\\_______\/\\\_\/\\\\\\\\\\\_____
    _______\/\\\_____________\/\\\_____________\/\\\_______\//\\\__/\\\__\/\\\_____\/\\\_______\/\\\_______\/\\\_\/\\\///////______
     _______\/\\\_____________\/\\\_____________\/\\\________\//\\\/\\\___\/\\\_____\/\\\_______\/\\\_______\/\\\_\/\\\_____________
      _______\/\\\_____________\/\\\_____________\/\\\_________\//\\\\\____\//\\\____/\\\________\/\\\_______/\\\__\/\\\_____________
       _______\/\\\_____________\/\\\_____________\/\\\__________\//\\\______\///\\\\\\\/____/\\\_\/\\\\\\\\\\\\/___\/\\\\\\\\\\\\\\\_
        _______\///______________\///______________\///____________\///_________\///////_____\///__\////////////_____\///////////////__
Many people know Apple's macOS only for its nice GUI and great integration with other Apple devices, like the iPhone, the Apple Watch, and, of course, the iPad. What most people don't know is that since macOS 10, Apple has fundamentally changed the underlying foundation of the operating system.
They developed the Darwin kernel, which is based on MACH and BSD, especially FreeBSD. Based on the Darwin kernel, the UNIX parts were integrated into macOS, like device handling, signal processing, and so on. So when you open, for example, the 'Terminal' app, you have a fully fleshed-out UNIX-based OS with a userland based on FreeBSD and OpenBSD.
So on this page, you will find hints and tips to use macOS from the command line (CLI) perspective. I personally find Apple's Terminal App not the best application, since it lacks some features I really need for my personal workflow. I recommend iTerm2, which is a free application and open source.
  #!/bin/sh
#
# Create a nice motd(5) for a login on a macOS terminal session.
#
# The awk stuff isn't as elegant as it could be, but it works.
# This motd(5) can be saved to /etc/motd and will then be printed on each
# login or opening terminal session.
#
# 2023-08-01, Gordon Bergling <gbe at FreeBSD dot org>

uname -a | awk '{print $4" "$5" "$6" "$7" "$8" "$9" "$10" "$11" "$12" "$13}'
echo "Welcome to `sw_vers -productName` Ventura `sw_vers -productVersion` (`sw_vers -buildVersion`)!"
echo ""
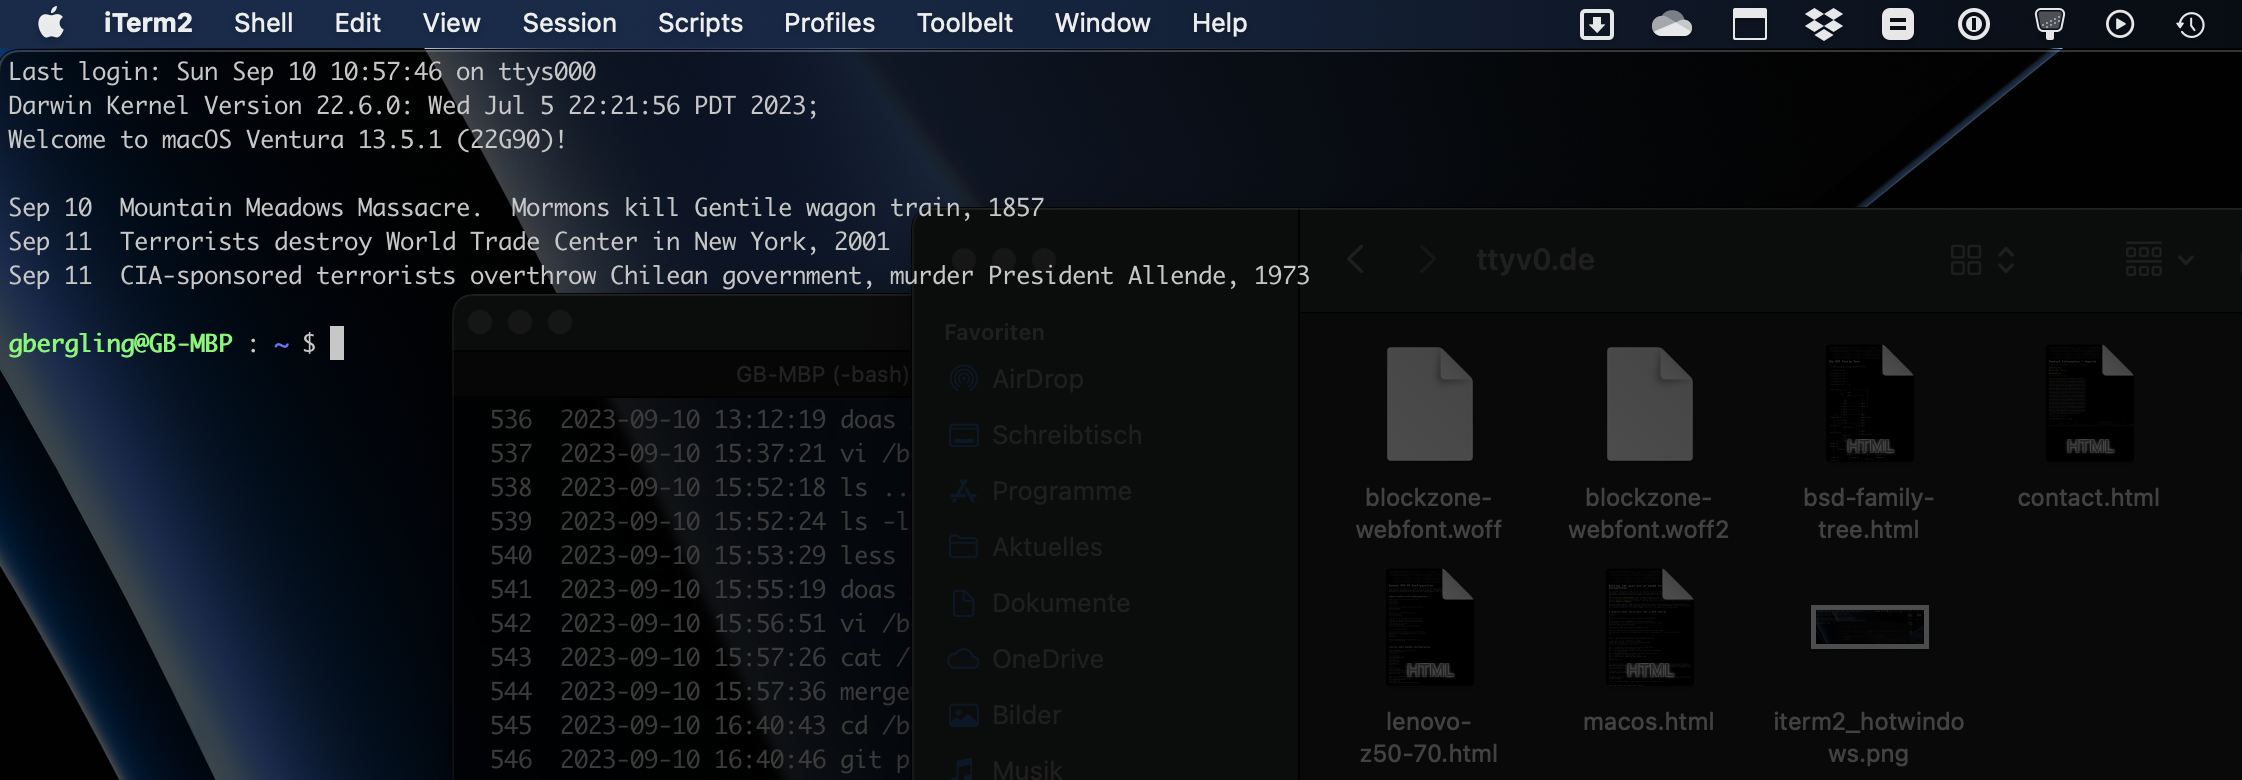
After a login, the terminal would look something like this:
  Last login: Sun Sep 24 10:18:43 on ttys003
Darwin Kernel Version 22.6.0: Fri Sep 15 13:39:52 PDT 2023;
Welcome to macOS Ventura 13.6 (22G120)!

Sep 24 	The Netherlands surrenders New Amsterdam to England, 1664
Sep 25 	Sandra Day O'Connor becomes first woman on US Supreme Court, 1981
Sep 25 	Battle of Stamford Bridge marks the end of the Viking era, 1066

gbe@hostname : ~ $
The calendar entries are from FreeBSD. The original distributed calendar(1) files were moved to GitHub a while ago. They can be found at github.com/freebsd/calendar-data. To set this up, they can be checked out into a directory, in my case ~/Projects. Then a file in the home directory, for example ~/.calendars, can be created like for example:
  #include <Projects/calendar-data/calendar.history>
#include <Projects/calendar-data/calendar.computer>
Afterwards this file can be sourced by the calendar(1) command. Therefor, I have the following line placed in the ~/.bashrc:
if [ -x /usr/bin/calendar ] ; then /usr/bin/calendar -f .calendars && echo "" ; fi
Note: The steps regarding the use of calendar(1) have changed since macOS Sonoma. The option -f is restricted to some directories, so you have to used one of the listed ones in the man page or just symlink the previous outchecked calendar-data project, like for example:
ln -s ~/Projects/calendar-data ~/.calendar
iTerm2 has a quite nice feature which lets you use an instend terminal right from your keyboard. It can be configured from the settings section when you configure a separated section and use Hotwindow as profile. I personally choosed Control + Command T as a shortcut but this is a subject on personal perferrence. See the following screenshot for an example.
When using macOS on a MacBook Pro with Touchbar, there are some very cool things how the Touchbar can be modified and extented when using iTerm2. I personally have removed the Mark functionality to have more space for open terminal sessions. And the best of all is the instead man page button. It's usually the [i] Icon. When you type a command in the shell and don't execute it, the button will change to "[i] ls" for example and lets you open the man page of the command by pressing the button. Under "preferences -> advanced" you can customize the man page command. I have extented the command like the following to have the man page displayed with a width of 80 characters, which is the default on FreeBSD.
MANWIDTH=80 man %@ || sleep 3
With some open terminal sessions the Touchbar will look something like this.

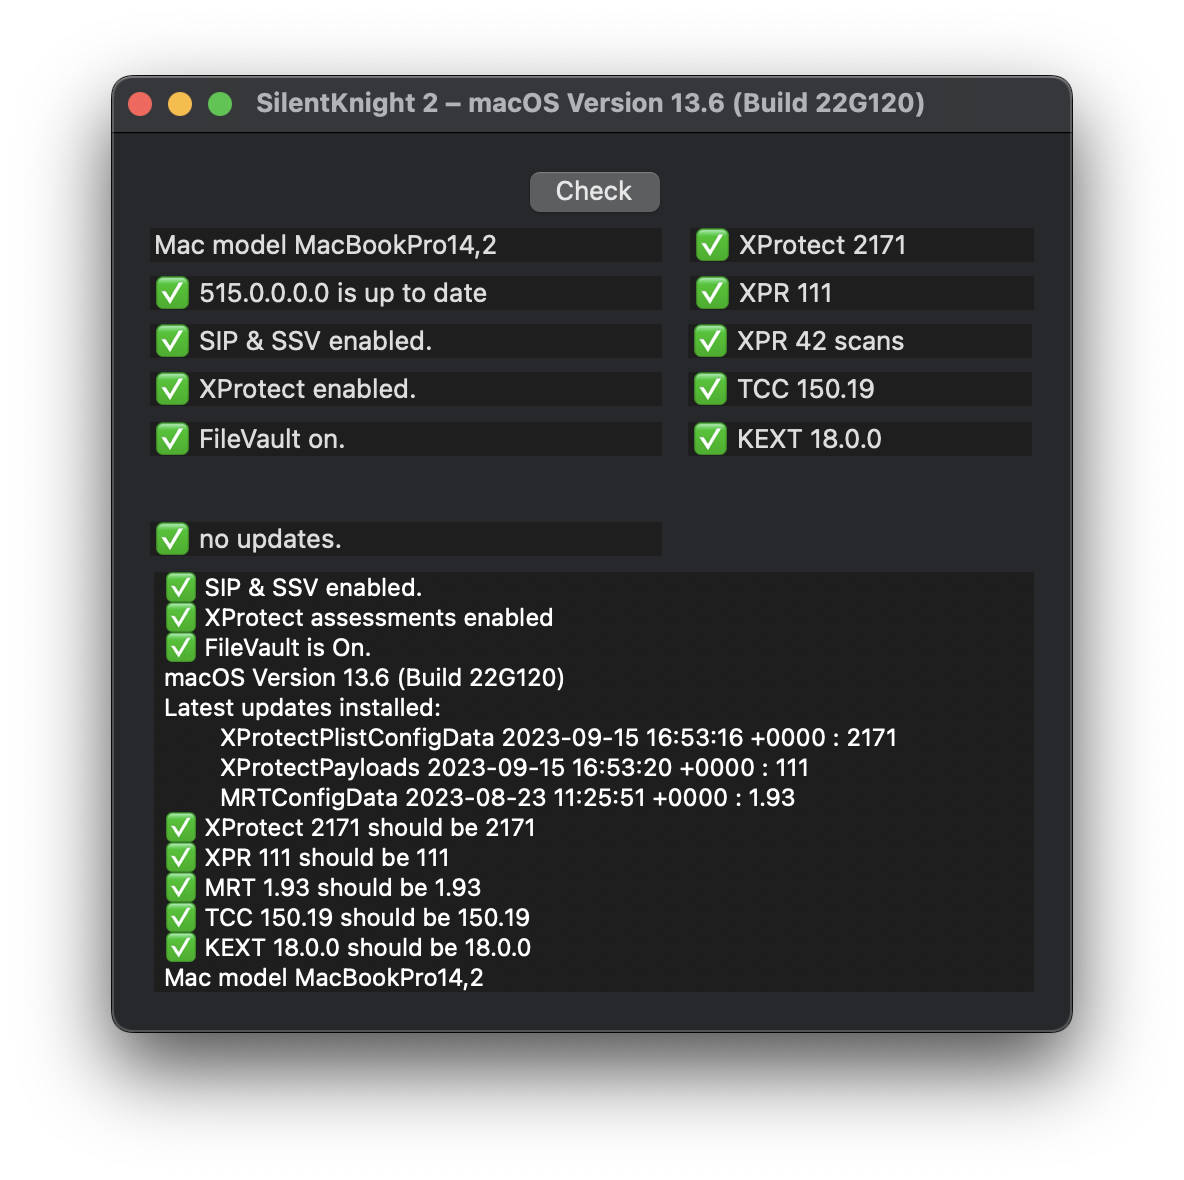
One of the most interessting little helper when working on macOS is Silent Knight by the eclectic light company. It is a small tool that checks the firmware-version of macOS and all relevant security settings that should be enabled by default. It is a free app and should be installed on every mac.
When using macports it can be useful to set up an explicit man path that is favored for the usual man path, if macOS ships and older version of the application. One example for such a case is mandoc(1). To use the local path you have to edit the /etc/man.conf and set the following entry on top of the existing ones.
MANPATH /opt/local/share/man
Last modified on: Jul 9, 2024.
                  _   _                                                             ,---------------------------.
     ...         (_)-(_)         ###           ooo           +++           ...      | (c) Gordon Bergling 2024  |   (((           +++           '*`
    (. .)         (o o)         (o o)         (o o)         (o o)         (o -)     `--------------------------(_  (o o)         (o o)         (o o)
ooO--(_)--Ooo-ooO--(_)--Ooo-ooO--(_)--Ooo-ooO--(_)--Ooo-ooO--(_)--Ooo-ooO--(_)--Ooo----------------------------ooO--(_)--Ooo-ooO--(_)--Ooo-ooO--(_)--Ooo-